Tag: Astrophotography

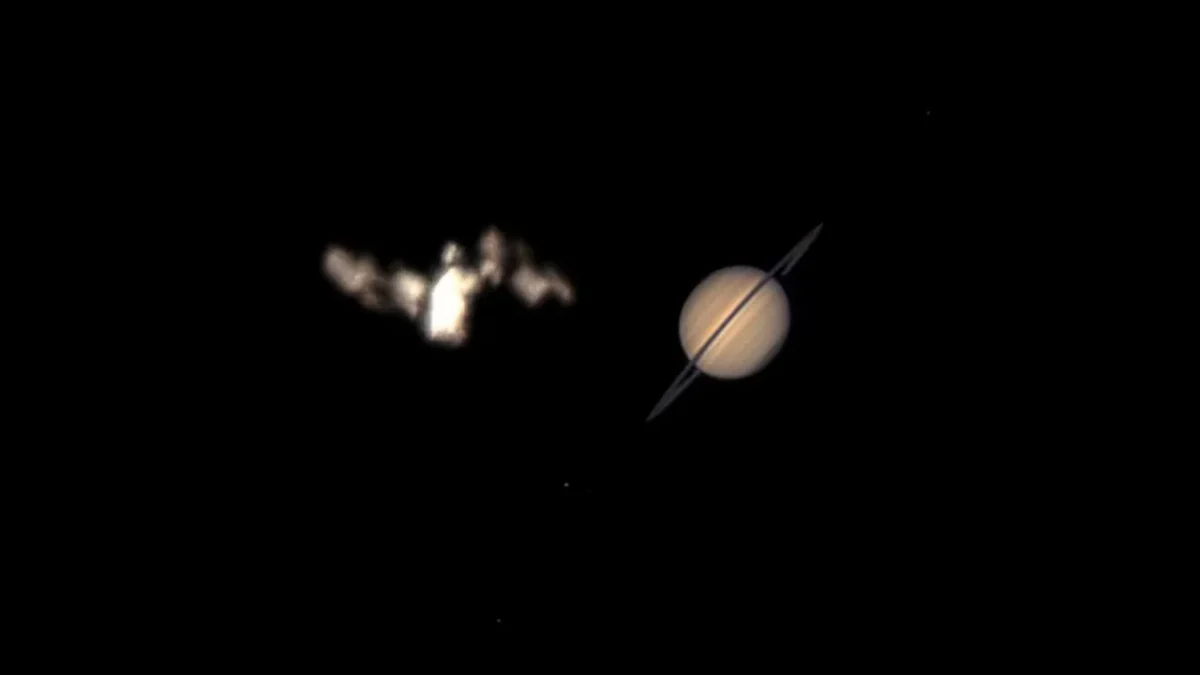
International Space Station (ISS) transiting Saturn captured from the USA on July 6, 2025.
“I’m thrilled!” Astrophotographer Captures the Rare ISS-Saturn Transit
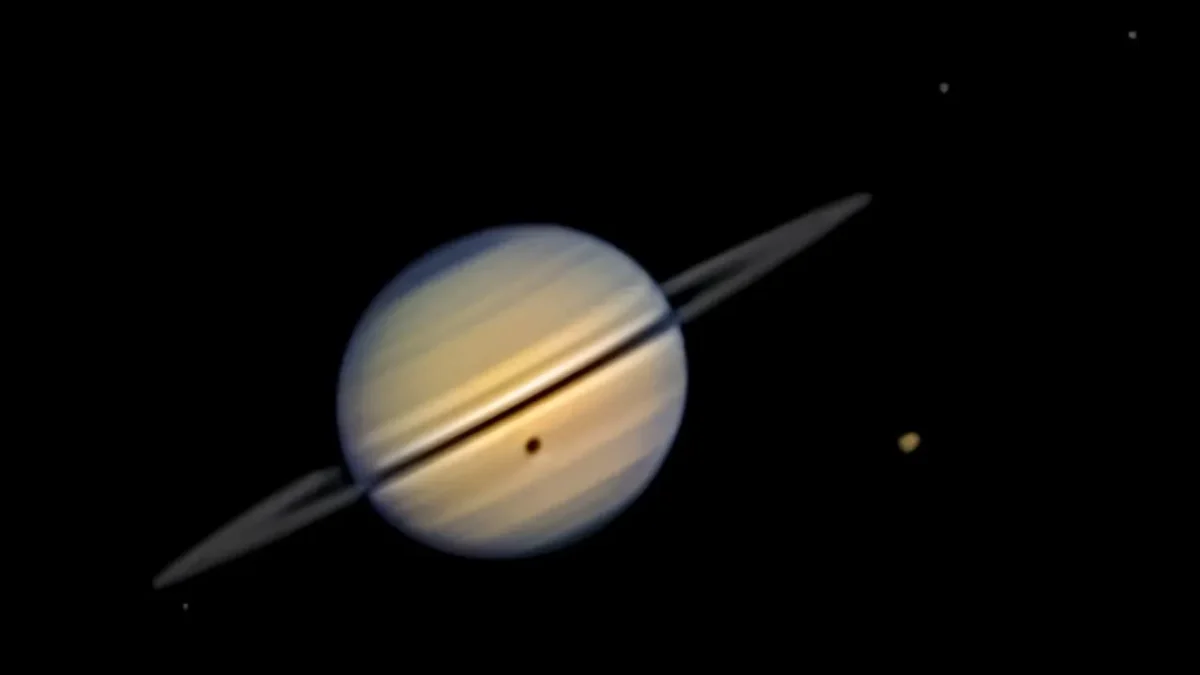
Saturn's largest moon, Titan, casts its shadow on it's surface creating a rare solar eclipse.
‘Won’t happen again until 2038’: Astrophotographer captures a rare solar eclipse on Saturn

This image shows the NGC 1499 galaxy. The image is a 'Young Competition' category winner of the Astronomy Photographer of the Year contest 2024. Image credit: Daniele Borsari via Royal Museum Greenwhich
NGC 1499 captured by a 14-year-old is amongst the winners of Astronomy Photographer of the Year 2024

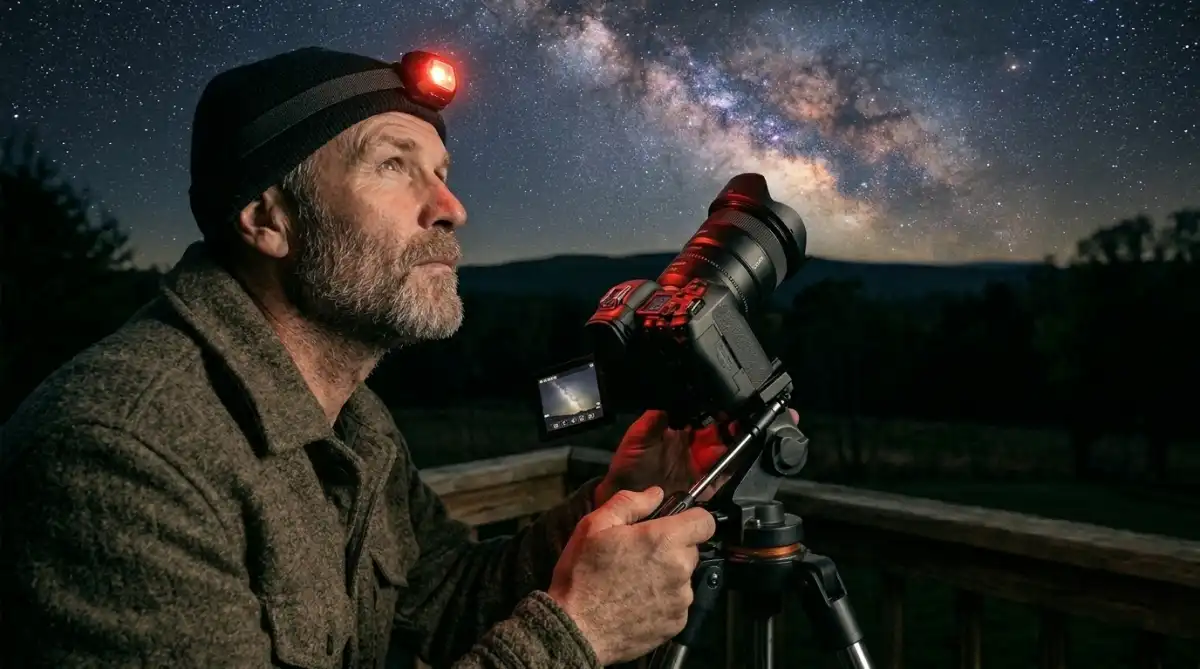
Astrophotography for Beginners: Everything You Need to Get Started